If you’re wondering what to expect at your first home inspection, this guide walks you through the entire process, from booking your inspector to reading the final report and deciding your next move. Signing a purchase agreement is exciting right up until your agent says, “Now we need to schedule the inspection.” For first-time buyers especially, that single sentence can flip excitement into anxiety. What if the inspector finds something catastrophic? What if you don’t understand what they’re saying? What if you miss something important?
Here’s the reframe: the home inspection is actually the most buyer-friendly step in the entire transaction. It’s the one moment where a licensed professional works entirely on your behalf, with no stake in whether the deal closes. Done right, it either confirms you’re making a great decision or hands you the information you need to negotiate, pause, or walk away with your deposit intact.
This is a plain-language walkthrough of the entire process. If you’re in southeast Michigan, the team at Total House Inspection can walk you through all of it with an experienced, InterNACHI-certified inspector. But wherever you are, the process follows the same basic structure. Here’s what you need to know.
What to expect at your first home inspection: scheduling before closing day
Book immediately after your offer is accepted
The inspection contingency in most purchase contracts gives buyers roughly 7 to 10 days to complete the inspection and respond, though some contracts run as short as 5 days or as long as 14. That window sounds generous until you factor in inspector availability, seller schedules, and report turnaround time. In practice, delaying even 48 hours can reduce your effective scheduling window significantly, inspector availability and report turnaround time have a way of compressing a 10-day contingency into a genuine scramble.
When you’re evaluating inspectors, look for two things beyond price: credentials and communication. The two most recognized national certifications are the InterNACHI Certified Professional Inspector (CPI) and the ASHI Certified Inspector (ACI). Both require demonstrated knowledge, ethics training, and continuing education. Your state may also require a separate license, so confirm that’s in place before booking. An inspector who’s both state-licensed and nationally certified has cleared more checkpoints than someone who only meets the minimum bar.
What good scheduling actually looks like
During a tight contingency window, scheduling flexibility is a genuine logistical issue, not a nice-to-have. Look for an inspector who offers online booking and weekend availability so you can lock in your slot without waiting for a callback during business hours. That kind of access matters when you’re working against a deadline and trying to coordinate around your own work schedule.
Some inspectors require phone calls during business hours and carry multi-week backlogs. When your contingency expires in nine days, that kind of lead time isn’t an option. Confirm availability before you need it, not after the clock is already running. Keeping the home inspection timeline in mind from the moment your offer is accepted is one of the most practical things a first-time buyer can do.
What to expect at your first home inspection on inspection day

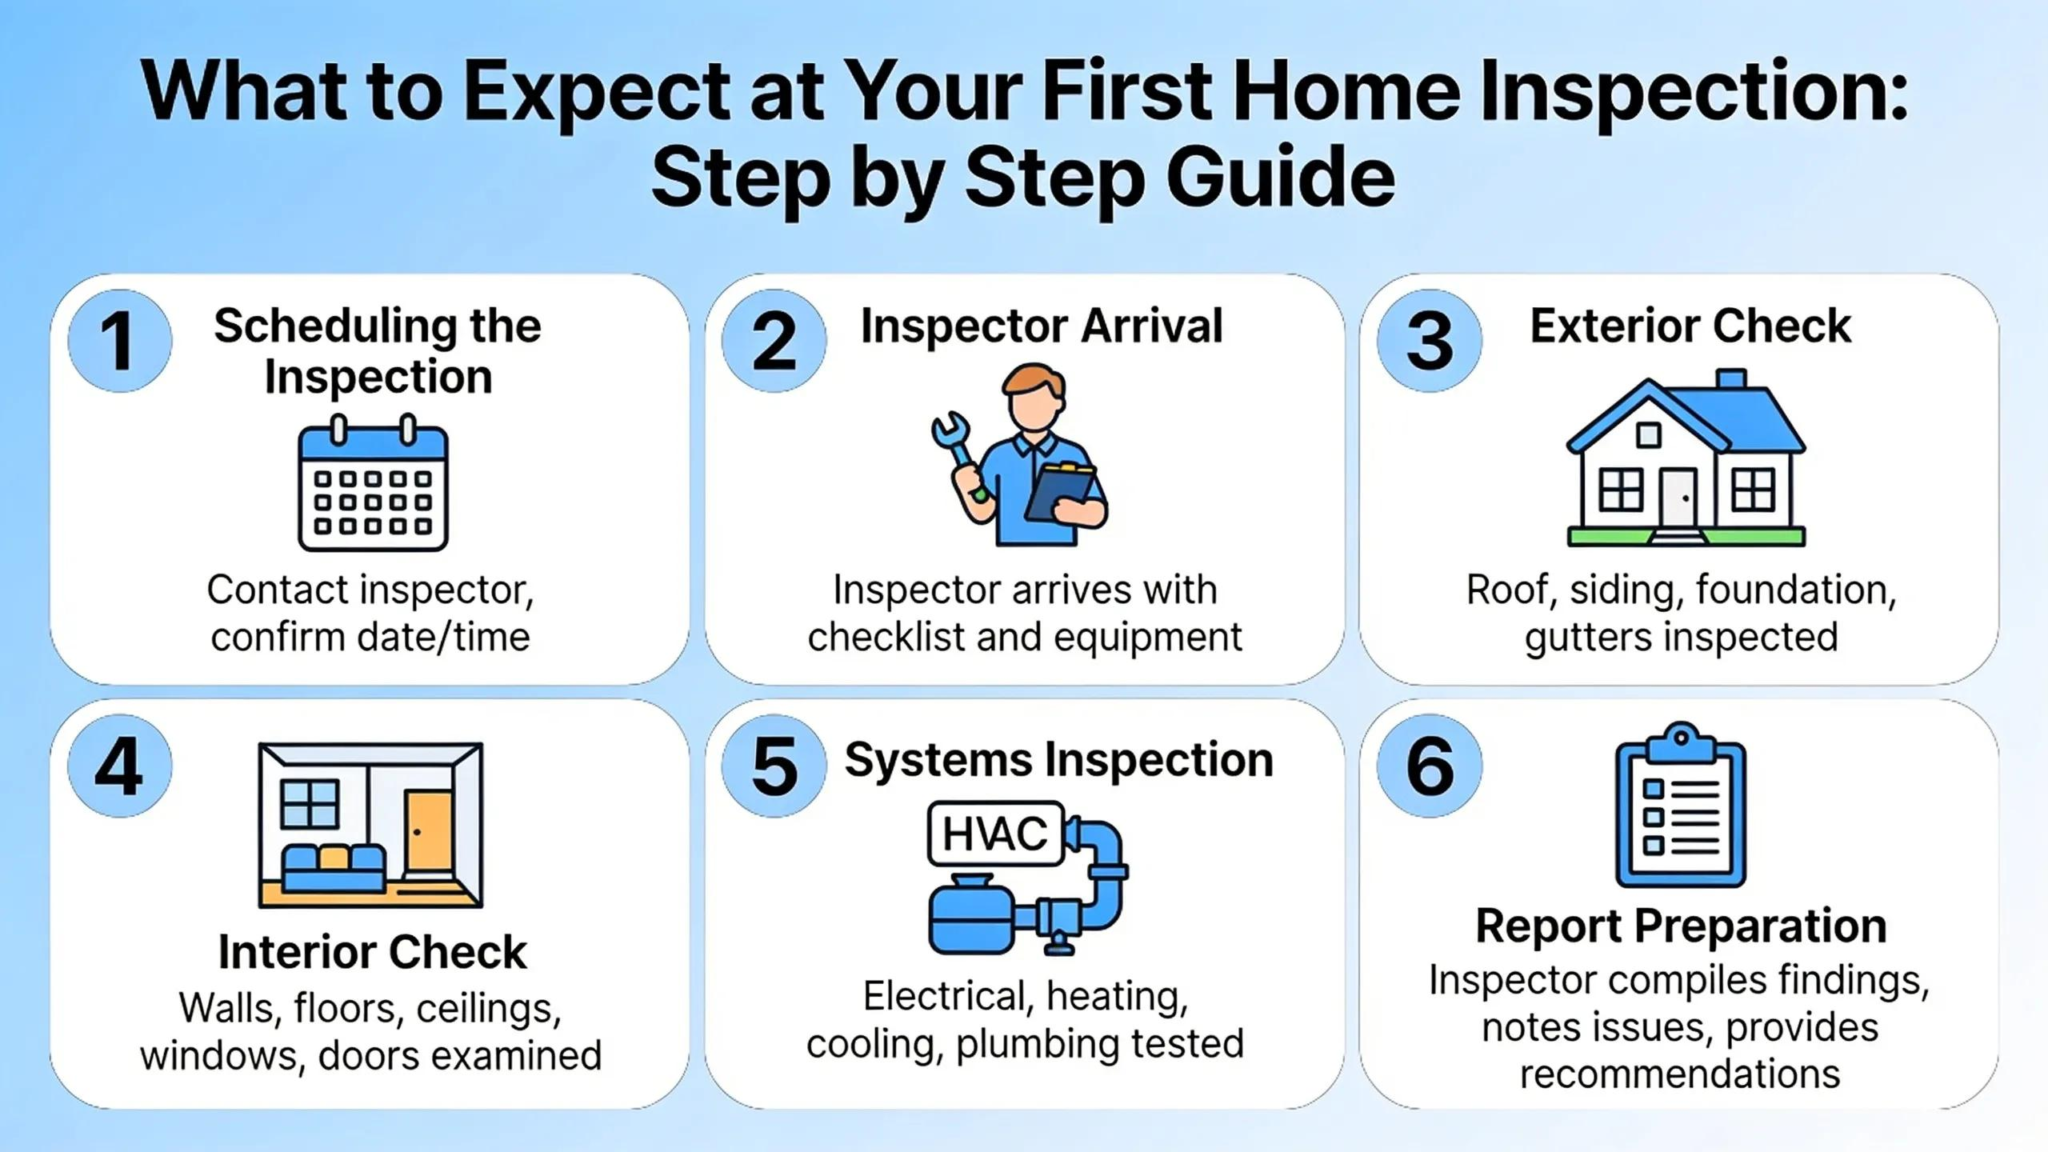
What to expect at your first home inspection, step by step
How long the inspection takes and what changes that
For a typical single-family home, plan for 2 to 3 hours on site. A larger or older home can run closer to 4 hours, with a rough rule of thumb of about 30 additional minutes for every 500 square feet beyond a baseline size. Homes with basements, crawl spaces, detached garages, or multiple HVAC systems take longer because there’s more to check. Add-on services like radon testing, mold sampling, or a sewer scope inspection can add another 30 to 90 minutes, but scheduling them at the same visit is almost always more efficient than arranging a second trip. Clear your schedule for at least half the day, showing up stressed because you have somewhere to be in two hours is the worst way to absorb what the inspector is telling you.
What to bring and how to follow the inspector
Bring a notepad or your phone for notes, and have your camera ready. If you noticed anything during the showing, write it down beforehand so you can point it out at the start. Buyers are not just allowed to follow the inspector through the home, they’re generally encouraged to. Seeing a defect in person is far more valuable than reading a description of it on page 18 of a PDF report. When the inspector pauses between areas or finishes checking a system, that’s your window to ask questions.
The right posture is to stay close but not underfoot. Let the inspector work without interruption, then ask your questions when there’s a natural break. Wear comfortable shoes, and don’t be surprised if you’re climbing attic stairs or crouching in a crawl space alongside them. Every time the inspector points something out, take a photo, those photos become an important reference when you read the report and discuss repair requests with your real estate agent. The more you see firsthand, the better your decisions will be afterward.
Your first home inspection checklist: what the inspector covers room by room
Exterior, roof, and foundation
The inspector starts outside, working from the top down. On the roof, they’re checking shingles, flashing, gutters, soffits, and any penetrations like chimneys, vents, and skylights. Common findings include missing or damaged shingles, failing flashing at roof transitions, and clogged or sagging gutters. These aren’t purely cosmetic problems, water intrusion is a frequent root cause of many of the most expensive repairs a homeowner faces. A full roof replacement runs $8,000 to $25,000 or more depending on size and material, which is why roofing findings deserve serious attention in any negotiation conversation.
On the ground, the inspector looks at siding, windows, exterior doors, and the grading around the foundation. Improper grading that slopes toward the house is one of the most consistently flagged exterior defects, and it’s one that buyers often underestimate. Water that pools against the foundation doesn’t stay outside. The inspector also examines foundation cracks to distinguish between normal settling and signs of active movement.
Interior systems: electrical, plumbing, and HVAC
Inside the home, the inspector works through the electrical panel, visible wiring, outlets, and GFCI protection in kitchens, bathrooms, garages, and exterior locations. Common electrical defects include outdated panels, double-tapped breakers, and missing GFCI protection where it’s required by current standards. These aren’t just negotiation points; some of them are genuine safety hazards.
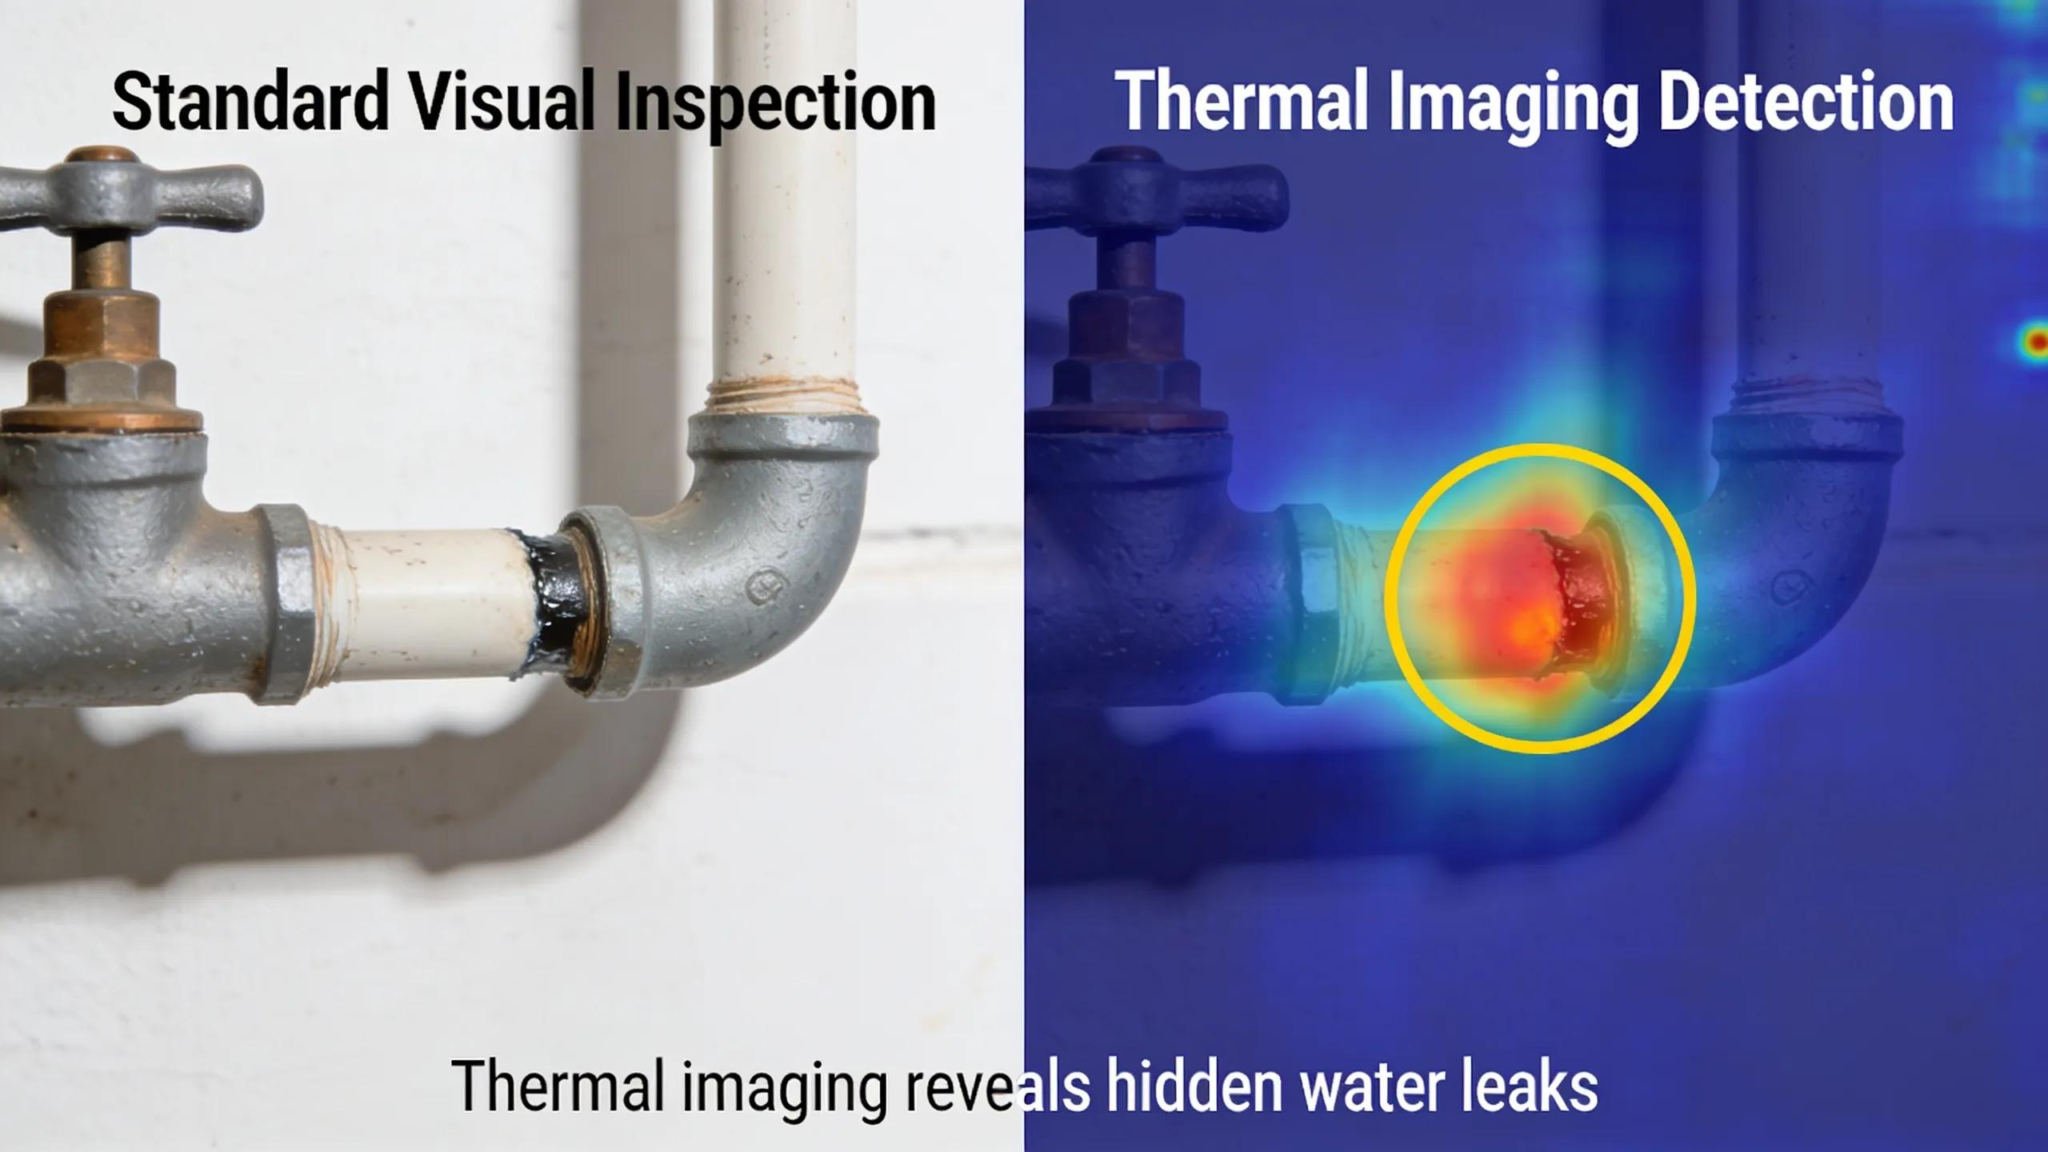
Plumbing checks cover supply lines, drain lines, fixtures, water pressure, water heater condition, and visible leaks. HVAC inspection tests the system from thermostat to vents, looks at the heat exchanger, and checks the age and condition of the equipment. HVAC replacement often runs $8,000 to $15,000 or more, and whole-house repiping can reach $4,000 to $15,000. When a system is well past its service life or showing signs of failure, those numbers belong in your negotiation strategy.
Attic, basement, and the red flags that hide in both
Buyers often skip the attic and basement during showings, which is exactly why the inspector pays close attention to both. In the attic, they’re looking at insulation levels, ventilation, roof deck condition, and any signs of moisture or mold. In the basement or crawl space, the focus shifts to moisture intrusion, efflorescence on concrete walls, foundation cracks, and structural movement.
Across every room, a few universal red flags deserve immediate attention: water stains on ceilings or walls, soft or sagging floors, active or dried efflorescence on concrete, and evidence of deferred maintenance on major systems. Not every finding is a dealbreaker, but distinguishing between a cosmetic issue and a structural or safety concern is exactly the skill your inspector brings to the table. That distinction also drives the questions you should be asking throughout the walkthrough.
The right questions to ask your inspector
Questions to ask during the walkthrough
The most useful mid-inspection questions push the inspector to rank what they’re finding in real time. Ask: “What are the biggest concerns so far?” “Is this a safety hazard or a maintenance item?” “Can you show me where the evidence is?” “Is this problem getting worse, or does it look stable?” These questions work because they turn observations into priorities. The difference between a $200 caulking fix and a $12,000 foundation repair is significant, and the inspector can help you understand which category something falls into before you leave the room.
Questions to ask after the walkthrough wraps up
Once the inspector finishes, shift your questions toward decision-making. Rather than running through another formal list, try paraphrasing your priorities: ask which findings they’d tackle first, whether any issue warrants a specialist, and what the realistic consequence is of leaving something unaddressed for six months. This framing cuts through overwhelm. A home inspection report can easily cover dozens of findings, and without a sense of priority, buyers often fixate on minor items and miss the ones that actually matter.
The mental framework that works best: ask every question in three layers. What is it? How serious is it? How soon does it need action? That structure gives you the clarity you need to negotiate effectively rather than reacting to a long list of findings with no sense of priority.
Reading the report and deciding your next move
What a quality inspection report looks like
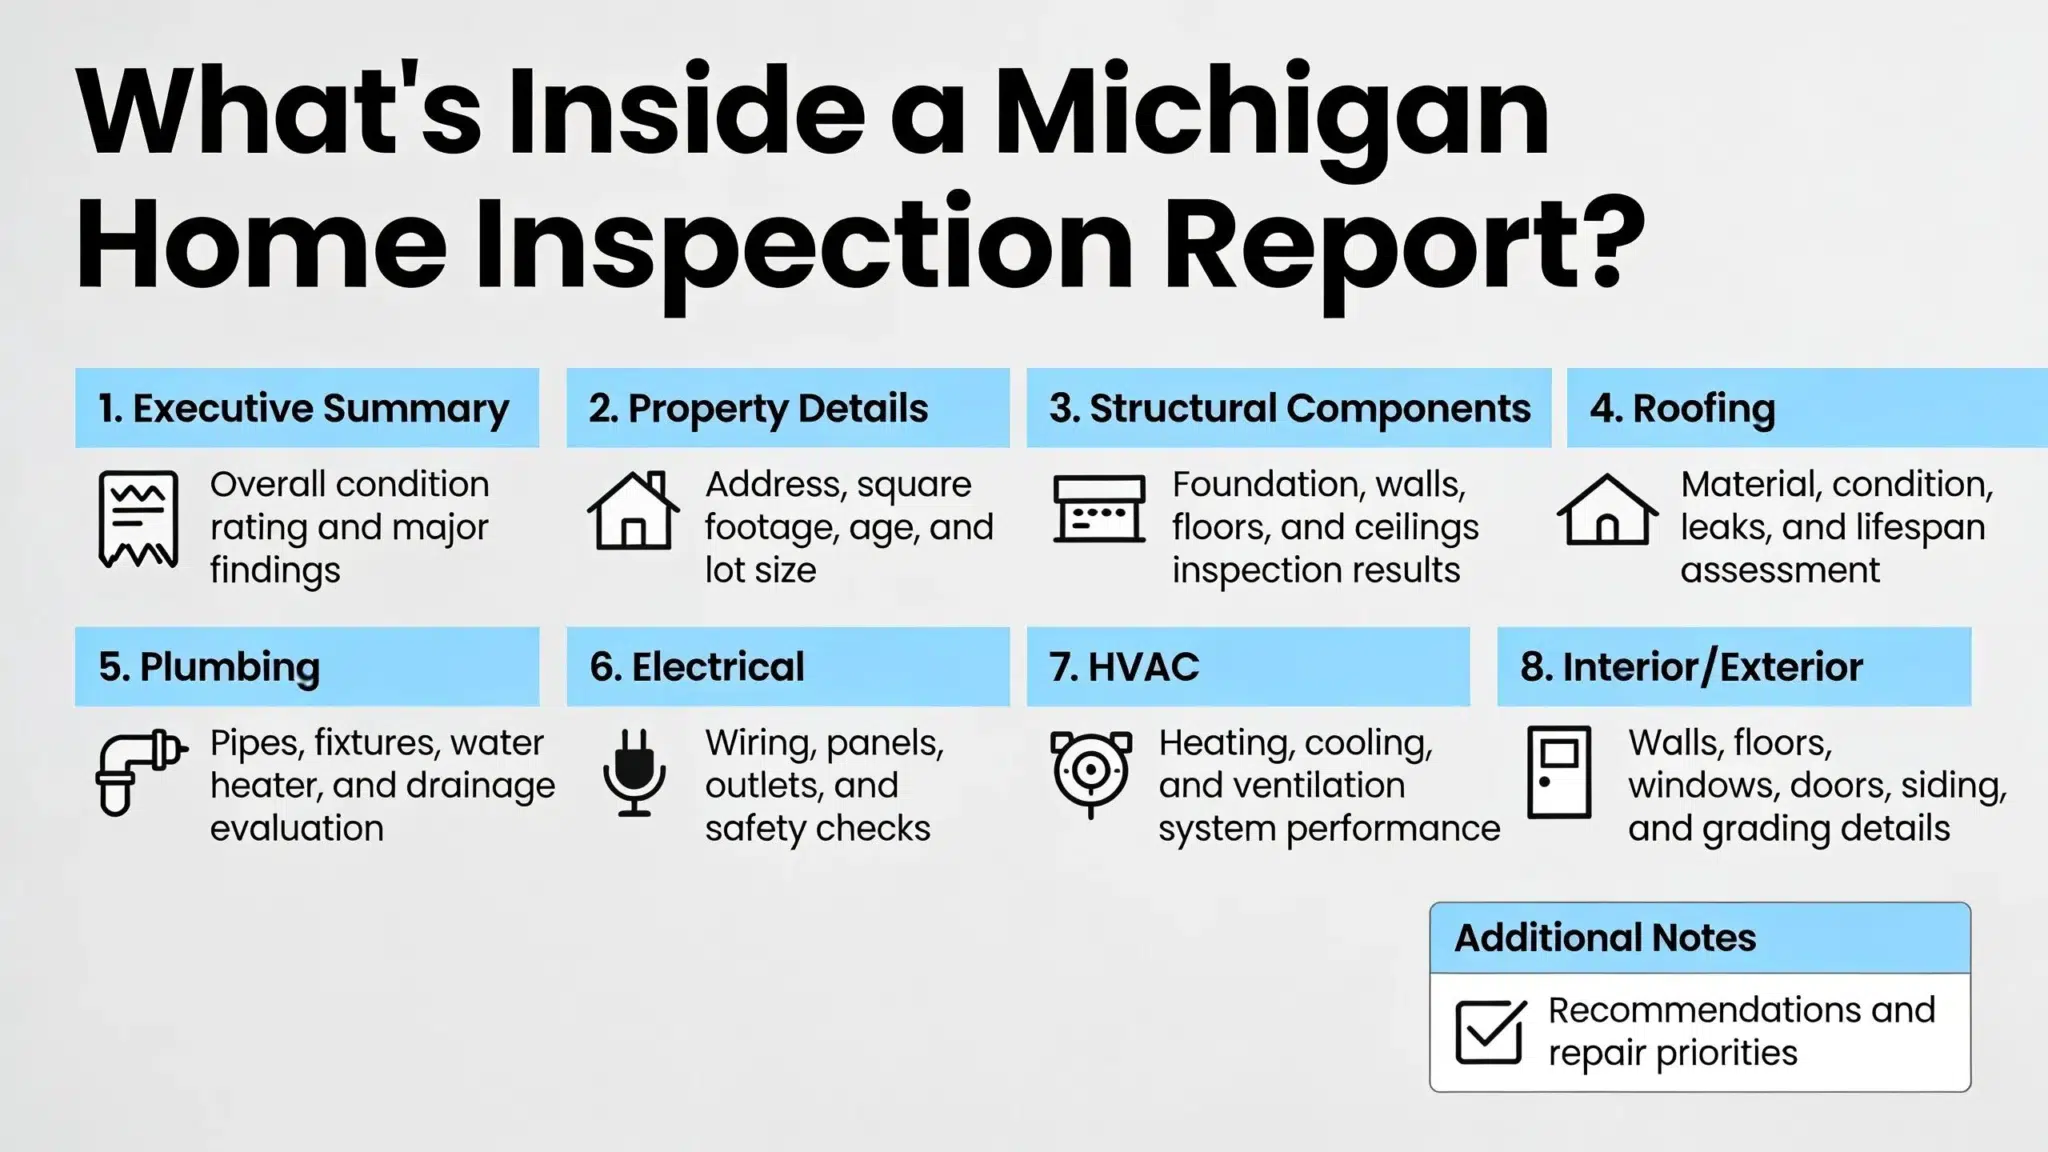
A good report arrives within 24 hours of the inspection, and often the same evening. It should include photos tied to specific findings, clear language about severity, and a summary that separates safety issues from routine maintenance items. The best reports are formatted so a first-time buyer can actually read and understand them without a follow-up call to decode the findings, a meaningful contrast to dense PDF documents that bury the most critical issues somewhere in the middle of 40 pages. Read the summary section first, then work through the findings with your real estate agent, flagging anything related to safety, major systems, or structural conditions for the negotiation conversation.
How to turn findings into negotiating power
Not every defect in the report becomes a negotiation point, but safety hazards, major system failures, and undisclosed defects almost always should. After reviewing the report, you have three options: request specific repairs or a credit toward closing costs, renegotiate the purchase price, or, in serious cases, walk away within the contingency window. Your real estate agent should be part of this conversation; they know the seller’s situation and can help you prioritize what’s worth pushing on.
Keep your repair request focused. A 40-item list that includes every minor maintenance item on the report tends to frustrate sellers and produce less cooperation than a targeted ask for the 4 or 5 things that genuinely matter. Stick to safety hazards, structural concerns, and major system deficiencies. Get contractor estimates for the biggest items so your request is grounded in real numbers, not guesses.
You're more prepared than you think
Now you know what to expect at your first home inspection, and that knowledge changes the experience entirely. When you understand the home inspection timeline, know what gets checked, show up ready to ask the right questions, and treat the report as a decision-making tool rather than a source of anxiety, you move through the process as an informed buyer. That’s a very different experience from arriving on inspection day and hoping for the best.
If you’re purchasing a home in southeast Michigan, Total House Inspection has the credentials, the technology, and the scheduling flexibility to make this step work in your favor. Their certified inspectors, online booking with weekend availability, add-on services like thermal imaging and sewer scopes, and buyer-friendly digital reports are designed to give you clarity at every stage of the process. Book online whenever you’re ready, or reach out to the team directly if you have questions before you schedule.
Frequently Asked Questions
How long does a home inspection take?
Plan for 2 to 3 hours for a typical single-family home. Larger or older homes can take closer to 4 hours, and add-on services like radon testing, mold sampling, or a sewer scope can add another 30 to 90 minutes. Clear at least half the day so you’re not rushed.
How soon do I need to schedule the inspection after my offer is accepted?
Book right away. Most purchase contracts give buyers roughly 7 to 10 days to complete the inspection and respond, and delaying even 48 hours can significantly shrink your effective scheduling window once you factor in inspector availability and report turnaround time.
Can I attend my own home inspection?
Yes, and it’s encouraged. Buyers are generally welcome to follow the inspector through the home, ask questions during natural breaks, and take photos of anything flagged. Seeing an issue in person is far more useful than reading about it later in the report.
What should I look for in a qualified home inspector?
Look beyond price to credentials and communication. National certifications like the InterNACHI Certified Professional Inspector (CPI) or the ASHI Certified Inspector (ACI) indicate demonstrated knowledge, ethics training, and continuing education. Confirm your state’s licensing requirement is also met, and favor inspectors offering online booking and weekend availability.
How quickly will I receive my inspection report, and what should it include?
A quality report typically arrives within 24 hours, often the same evening. It should include photos tied to specific findings, clear severity language, and a summary that separates safety issues from routine maintenance so you can prioritize before the negotiation conversation.